Home»Garden»Plan - Design - DIY
Last Updated on August 18 , 2023
Trellises are a fun ( and sometimes necessary ) increase to any garden . They can help condition and underpin plants , create privateness wall and “ living fence ” , or simply add flair and elan to your distance ! Trellises are also greatspace - saver , and enable nurseryman to “ get vertical ” – which can be especially utile when growing blank space is special . However , some pre - made trellis can be a routine spendy – and the costs really total up if you need to purchase several . The good news is , it is very well-fixed and low-cost to build your own trellis!Even good , you could customise and make a trellis that perfectly accommodate your need .

show along to study our best-loved material and methods to make a simple and inexpensive treillage . I will take the air you throughtwo different but very similar trellis innovation alternative . Ftirst , permit ’s go over how to make the most easy , simple , and inexpensive DIY treillage ever . The second option is still very low-priced , yet is increasingly hardy and attractive with the inclusion of a wood skeleton – perhaps more ideal for more permanent placement . Finally , we ’ll search a few more treillage designs , include arched trellis .
revealing : This billet may contain affiliate link to products for your convenience , such as to items on Amazon . Homestead and Chill gains a small commission from purchase made through those connectedness , at no extra monetary value to you .
Would you like to save this?
We ’ll netmail this billet to you , so you may descend back to it later !
I fit in to receive email updates .
Ways to Use a Trellis
If you face around our place , you ’ll see treillage everywhere ! Some are impermanent and mobile , givingshort - hold up one-year plantslike magnetic pole bean a place to mount . They can easily be moved in and out of garden beds as the time of year change , or as we practice craw rotary motion . I will show you how to make a simple trellis that is stark for fend for beans , peas , tomatoes , and other veggies .
We designed other treillage aslong - terminus live concealment walls , now covered with heavy , vigorous vines . Those are a bit more durable . For example , we chose to train all of our passion fruit vines on trellises along the perimeter of our yard , rather than allowing them to grow directly on our fence . render the vines with a depute trellis has severalbenefits : it protects our fencing from hurt , allow us to access both sides of the vines for pruning or harvest fruit , and also enable us to produce privacy in our garden by building the treillage improbable than the fence line .
in conclusion , you could establish a trellis to serve multiple functions ! Around our back patio garden , the wood - skeletal frame trellises make a separate intimate distance , do as a fenceto keep the wimp out , and support plant life all at once .

What Kind of Plants Grow on a Trellis?
Many one-year vegetable plant rely on a support structure as they grow . The most common examples includecucumbers , pole bonce , nose candy peas and snap peas – who all readily cling to , wind around , or otherwise climb up a treillage . See even moreDIY cucumber trellis ideas here .
Many other vining and sprawling plants may also apprise the support of a treillage , includingtomatoes , crush plant , melon , and sweet potato . Some of these are not natural climbers ( e.g. tomatoes ) but can easily be trained up ( or tied to ) a trellis with your aid . Larger , heavy crop such as wintertime squash or melons will need the living of slings or makeshift hammocks under the fruit to prevent the vines from give .
In addition to vegetables , there are a ton of beautifulflowering or eatable vinesthat will naturally rise up a trellis too : jasmine , smutty eyed susan , Aquilegia canadensis , kiwi fruit , grape , bougainvillea , certain assortment of genus Nasturtium , clematis , Passiflora incarnata , passion flower and heat yield , just to name a few ! For more entropy about how to growpassion fruitand Passiflora incarnata ( and to memorize the difference between the two)check out this article .

What Type of Wire to Use for a Trellis
Before we get started building , permit me tell you about the secret ingredient in our homemade trellis pattern : remesh . While there are many options of conducting wire fencing that can be made into a trellis , we prefer to make our treillage usingsheets of concrete support wire called remesh .
Remesh is an incredibly affordable option compare to other conducting wire fencing materials like Bos taurus gore or hog panel . Remesh should also be soft to find . agree the concrete section of your local hardware store , near the rebar and other concrete support “ accessories ” . Our Home Depot always hasthese sheets of remeshavailable . Yet like everything , remesh wire comes with its benefits – along with a few cons . Let ’s review those now .
Pros & Cons of Remesh Wire
That said , you could definitely opt to use cattle or hog gore fencing to build a trellis either of the ways described next . However , notice that in plus to being more spendy – they ’ll be a lot more heavy . Thus , you ’ll need to utilise full-grown , strong , and longer bet to back them .
HOW TO BUILD A TRELLIS: OPTION ONE
Materials Needed
For this ultra - simple and cheap trellis intent , all you need is :
When pick out garden post to support your treillage , choosestakes that are tall enough to come up at least 2/3rdthe finished height of the trellis ( once in the ground ) . For example , if you intend to have a 7 pes tall trellis , do not buy 4 foot tall stakes . Once they ’re at least a foot into the ground for stability , they ’ll only ply three foot of support above .
Also , it is best to take wager that have some texture to them . petite notches , grooves , or similar create grip for the zip ties or wire tire to catch and hold to . Otherwise , everything may slip around . We usually use6 - foot green - coated metal garden stakesto build our trellis ( with the exception of design option two ) , but you could utilize any kind – wood , big bamboo , or even rebar ! We usually buy our stakes individually at a local garden center , but at under $ 2 each , this 25 - packis a really good price if you need a lot !

Instructions
HOW TO BUILD A TRELLIS: OPTION TWO (WOOD FRAME)
The next DIY trellis innovation is very similar to option one , but has the remesh panel attach to ahomemade wood framerather than directly to the stake .
These are the type of treillage we have used the most extensively around our property , to hold love yield vines , create poulet fences , and living gullible wall . Some of them are install base - alone in the ground , while others are bond to raised garden bed . They’redurable , attractive , and still more cost - effectivethan purchase most pre - made trellises of similar sizing .
For this more sturdy and finished - looking trellis blueprint , you will need :

In regard to stake length , adopt the same passport as option one . Yet because this style of trellis is a bit more hard - duty , I suggest to usemore laborious - duty stakes .
Personally , we like to use 6 invertebrate foot fiberglass post to substantiate our free - resist Ellen Price Wood framed trellises . Fiberglass stakes are badass because unlike the hollow metal ones , they are unacceptable to bend . Furthermore , you may drive them into the ground with a rubber hammer if needed – again , without bow . In this DIY trellis design , it is okay if the stakes do not have texture as recommend in option one . The trellis is secure to the wager with strong tighten hose clamps , so it does n’t matter that fiberglass stakes are liquid .
Step 1) Take Measurements
First , examine the locating you would wish to add the trellis . Take measurements to determine the size of the wood frame you ’d wish to create . Do you need to adjust the size of the remesh gore ? If not , measure the remesh panel to determine the lengths of wood you ’ll demand .
Note that most 2×2 ’s are realistically more like 1.5 by 1.5 inch , so take that into account in your measurements . Ideally , once the frame is build , the outer edges of the remesh panel will descend tight to the center of each 2×2 . Also consider the additional length you ’ll profit in one focusing or another , bet on how you line up the corners of the Grant Wood frame .
Keep in mind that you may want a foot or so of trellis“legs”to extend beyond the bottom edge of the trellis wire . They wo n’t be sink into the earth very far though . Stakes will still be used for support in the ground .

Step 2) Build the Trellis Wood Frame
Using a saw , turn out the wood 2x2s to the desire size of it . Most often , we do n’t need to rationalise the two vertical side at all . 8 foot works perfectly for a 7 foundation remesh gore . ( Edit : See the new extra - large treillage we make using two jury of remesh below ! )
Lay out the wood man on a flat work airfoil . Before attach anything , I advocate to also lay the remesh sheet of paper on top of the unassembled build to see if any adjustments need to be made . If all is good , link the cornersof the wood frame either using decking piece of tail or lambert - brackets . L - brackets are the most stout . If your wood desire to separate , add little airplane pilot holes first .
To keep the frame from flexing and to provide increase force , tot up asupport piece of Natalie Wood across the frame itself . * you may choose from many options , look on what panache you like . For model , we have cut 2x2s at an angle to append piece at each corner , the top corner only , or have run a piece horizontally across the middle . See the photos below for idea .

- take down : You could add the support part affluent inside the frame , or simply attach it to the backside . If inside the frame , add the support piece now . If you are going to add it to the back of the frame , postdate Step 3 first ( impound the remesh ) , and then impart the support piece on top – essentially sandwich the remesh panel .
Step 3) Attach the Remesh Panel to Wood Frame
With the Mrs. Henry Wood flesh still on a flat oeuvre Earth’s surface , rest the piece of paper of remesh conducting wire on top of the backside ( e.g. where your L - bracket are show , if you used them ) . Once it is solid along the human body , I suggest toscrew down the cornersfirstto prevent thing from get out of whang as you go .
We utilize short wide - head console screw to attach the remesh to the Sir Henry Wood flesh . Feel free to get creative with other methods ( such as nailing in poultry veiling staples ) , but this has worked swimmingly for us ! Choose a junction or nook in the wire , and drill the screw in at a slight angle to nobble and have the wire between the shag head and wood . Do n’t over - fasten and pillage the muddle . bestow screws every foot or soalong the extinct perimeter and also across your supporting beams .
This is where using remesh is groovy . It is fragile and perch enough to hold securely using cabinet piece of tail . Given its cinch and weight , I do n’t think this adhesion method would operate well with hog panel .

Step 4) Install the Trellis
Unlike option one ( where we attached the stake to the trellis first ) , we typicallyput the stakes in stead and then bond the treillage after . Because these are intended to be more permanently installed , we require to repel the post in the land as far as possible ( one foot lower limit ) before secure anything in place . The treillage itself gets in the way of the work .
That said , make every endeavor to put the interest in the land asevenly and straight up - and - downas possible . Measure the distance between the out upright piece of wood ( center to center ) and place your stakes there .
Once the musical accompaniment bet are in the ground , put your new treillage in front of them . Work the wood legs down into the top few inches of soil . Once everything looks good and unbowed , attach the wood inning to the stake . While you apply wire , we like the added strength of usinghose clamps – one at each corner ( or close-fitting ) . Fully get to the hose clamp , wrap it around the Mrs. Henry Wood form and stake , and then habituate a screwdriver or practice session to stiffen it completely .

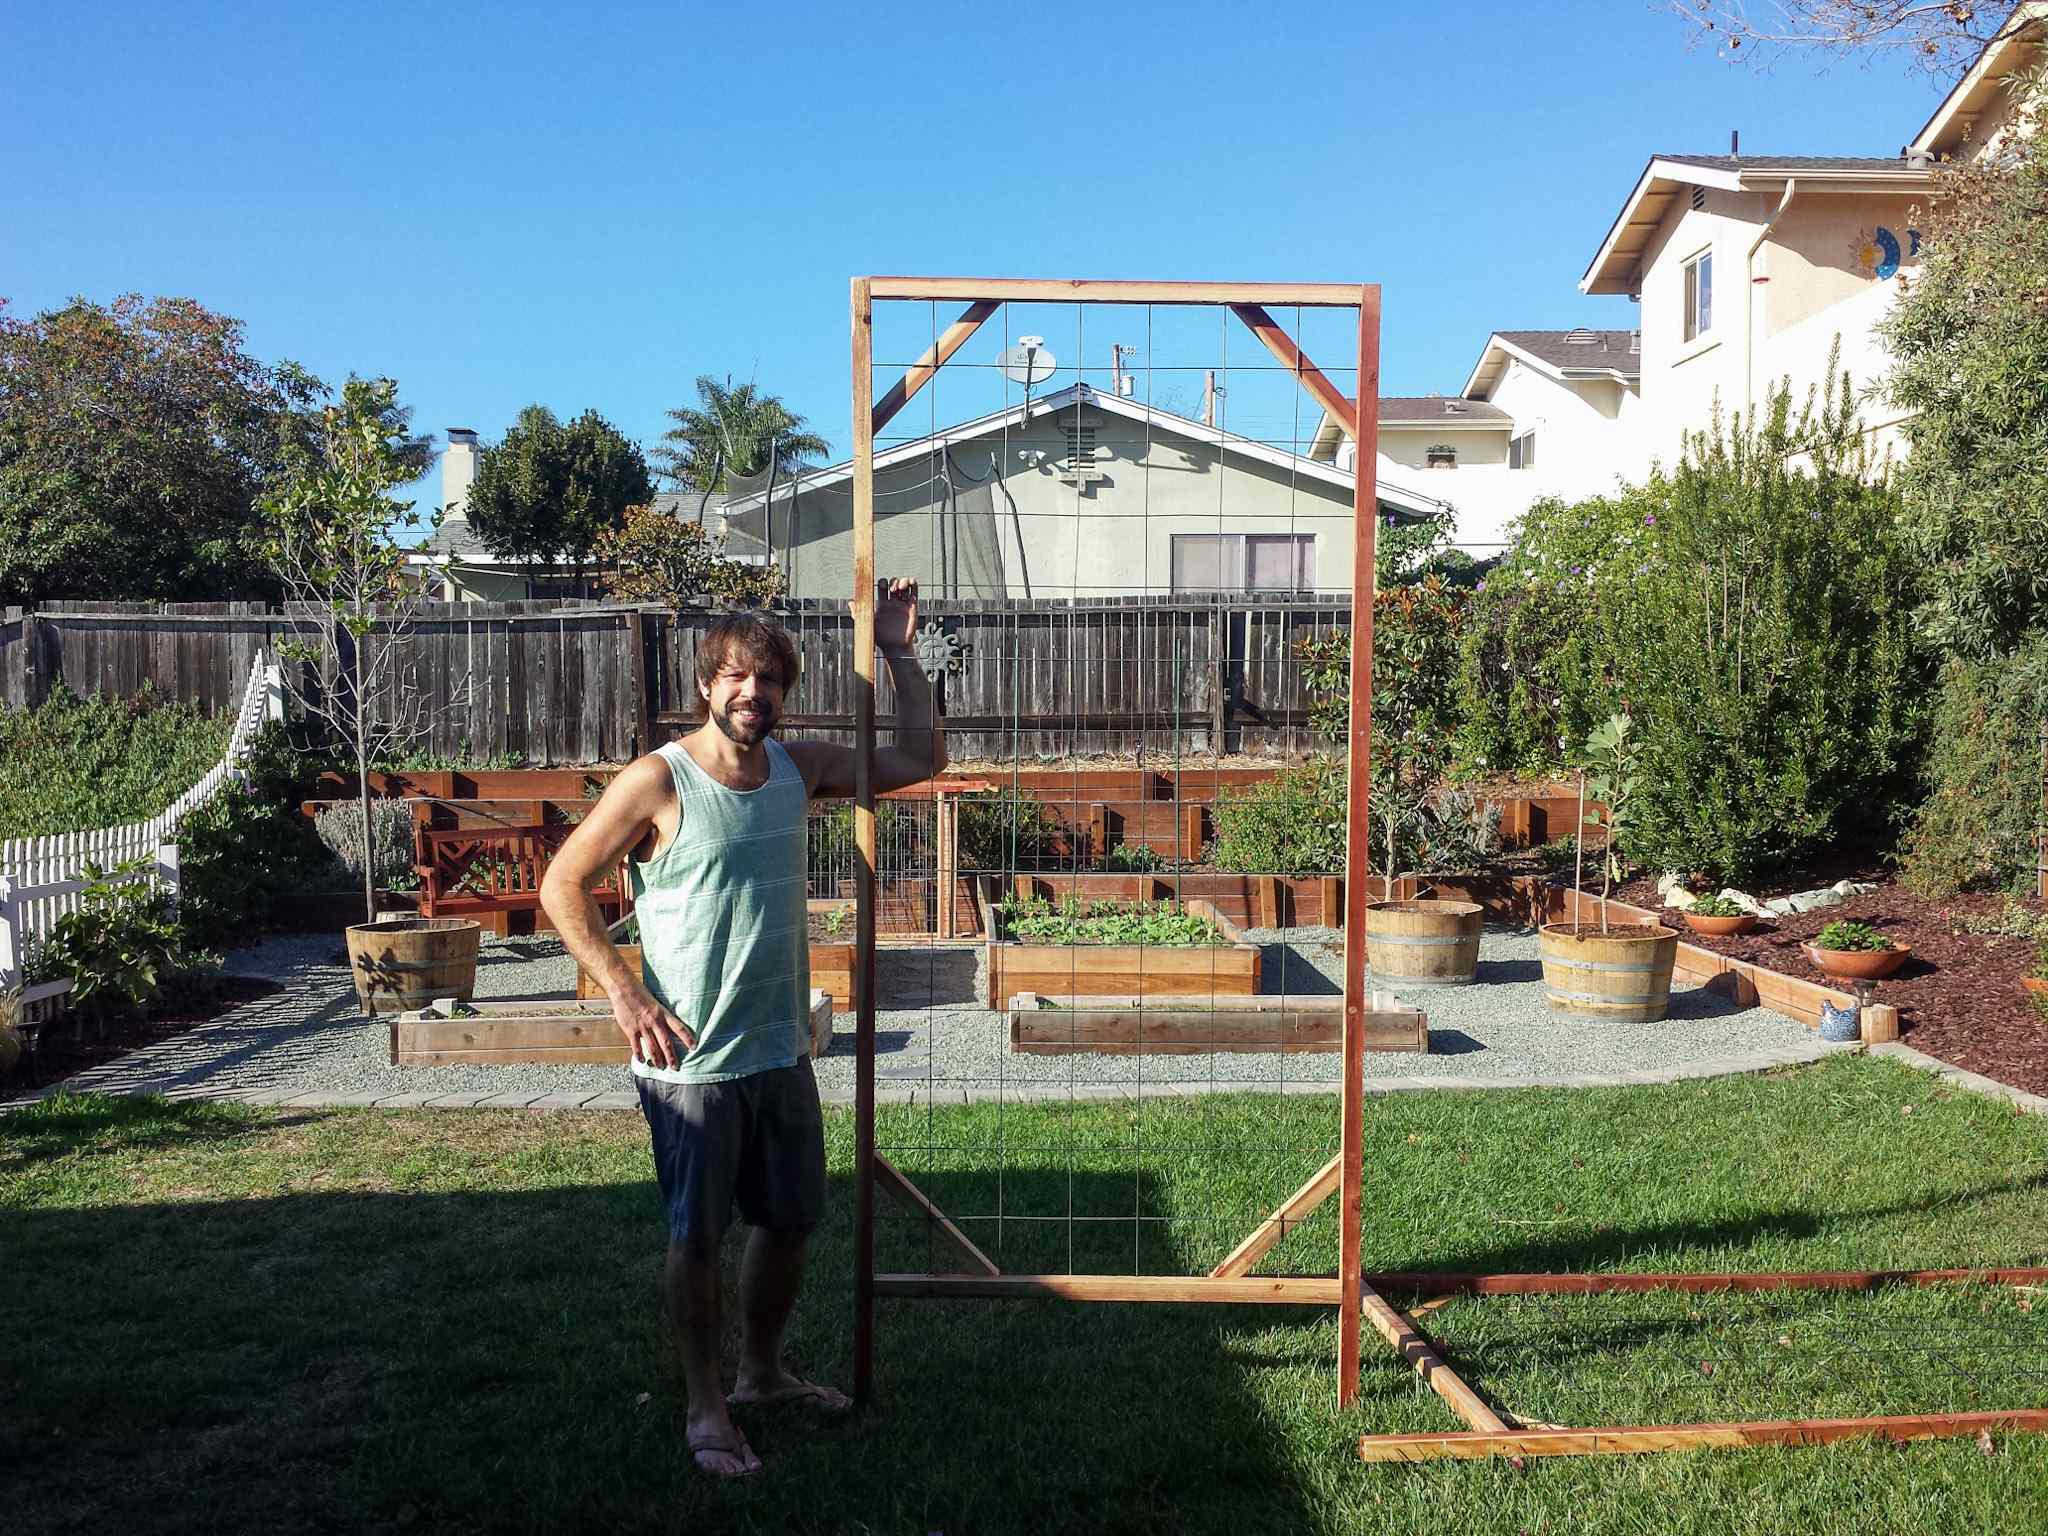
Double Remesh Wood-Frame Trellis
Check out our newest DIY trellis project below ! We followed the same step described above , but create a large wood frame of reference that fit two panel of remesh . The control panel are laying horizontally and stacked on top of one another . The in-between horizontal piece of Grant Wood serve as structural support for the wide designing , as well as a place to attach the two edge of adjoining remesh instrument panel to the chassis . Installed , it has the same fiberglass stakes on each edge ( driven about 2 feet into the reason ) . The wood treillage feet only extending a twosome inches down in to the rock undercoat blanket . eventually , we added an redundant centre stake for additional support .
Arched Trellises
Last but not least , I ’m certain many of you are interested in learning how to work up anarched treillage . Unfortunately , remesh control panel are too unretentive to be made into an archway . We bought our condescending treillage from a local garden supply company . The eat look meet with our current invention , and the widths were also unadulterated for our space .
However , it is not difficult to create your own arched trellis withhog or cows dialog box . You should be able to find these at your local Farm Supply or Tractor Supply store . stock cows panel are 16 feet prospicient and 50 in wide – idealistic for a large arched treillage . The curved hog panel must be firmly anchor into the ground ( such as with T - berth stake ) or attached to a sturdy social organisation like the side of a lift garden bed . you could habituate tube shoulder strap or pipe clamps to secure them to Natalie Wood . That is what we did with our pre - made arched treillage . See the photos and sketch below .
If you ’re not up for pretend your own arched treillage , check out the beautiful arch and arbor options fromGardener’sSupply!I specially have intercourse the Moongate and forward-looking Gracie ones .

Other Trellis Designs
Needless to say , there are SO many other trellis figure options and ideas out there ! We use variations of these two pattern as well , such as put in them horizontally as I mentioned above . Or , rather than creating a full four - sided Sir Henry Wood human body , sometimes we use wood 2x2s on the vertical side only .
what is more , in improver than creating a free - standing treillage , we oftenattach them like a shot to raised garden bedsor other structures . Finally , you could install our woodwind - frame treillage at an slant like alean - to , plump for with stake or against a structure . You could even put two together to create a tepee ! See the photos below for more idea .
And that is how to build a trellis.
If you love this article , you may also like :